Removing a window screen sounds simple enough — until you're standing there pulling on it and nothing's moving, or worse, you hear something bend. We get repair calls every week from homeowners who forced a screen out the wrong way and ended up with a bent frame, torn mesh, or broken clips. The fix is almost always more expensive than what a few minutes of knowing the right technique would have cost.
The reason most guides fall short is they only cover one screen type. Your home probably has several different kinds of windows, each with a different screen attachment method. This guide covers all of them — sliding, double-hung, casement, fixed, and screen doors — so you can confidently remove any screen in your house without damaging it.
How Window Screens Attach (Quick Overview)
Before pulling on anything, it helps to understand the four main ways screens attach to window frames:
- Tension springs: Small coiled springs on one or both sides of the screen frame. You compress them to create clearance, then angle the screen out. Common on sliding and single-hung windows.
- Plunger pins (spring-loaded pins): Small pins that retract when you pull them. Found on most double-hung windows. Pull the pins inward to release the screen from the track.
- Turn clips or swivel latches: Small metal or plastic clips screwed into the window frame that rotate to hold the screen in place. Common on casement and awning windows.
- Friction fit: The screen sits in a channel with no mechanical attachment — it's held in by pressure alone. Common on older fixed windows and some picture windows.
Once you identify which type you're dealing with, the removal process is straightforward. Let's go through each one.
Sliding Window Screens
Sliding windows are the most common window type in Southern California homes, and their screens are the ones we remove most often on the job. The screen sits in its own track on the exterior side of the window.
Step-by-step removal
- Open the window fully. Slide the operable panel all the way open to give yourself maximum access to the screen.
- Locate the tension springs. Look at the left and right sides of the screen frame. You'll see small spring-loaded tabs or the frame itself has a slight spring action on one side. The springs are usually on the left side, but check both.
- Grip the pull tabs. Most sliding screens have small tabs or finger pulls on the rail. If yours doesn't, grip the frame itself at the bottom corners.
- Compress the spring side. Push the screen toward the spring side (usually left). You'll feel it compress about a quarter inch — that's all you need.
- Swing the opposite side out. While holding the spring compressed, push the bottom of the opposite side outward. The screen should pop free of the track on that side.
- Angle and lift out. Once one side is free, angle the screen and slide it out of the remaining track. If it's a large screen, have someone outside ready to catch it.
Pro Tip
Always push from the corners, never from the center of the frame. The center of a screen frame is its weakest point — pushing there is the #1 cause of bent frames we see on repair jobs.
Double-Hung Window Screens
Double-hung windows (where both the top and bottom sash slide up and down) typically have screens held in place by spring-loaded plunger pins. These are small pins that sit in holes or slots in the window track.
Step-by-step removal
- Raise the bottom sash fully. Push the lower window panel all the way up to expose the screen.
- Locate the plunger pins. Look at the sides of the screen frame — you'll see small spring-loaded pins (usually two on each side, or one on each side near the top). They look like small round buttons or tabs.
- Pull both pins inward simultaneously. This is the tricky part. You need to retract the pins on both sides at the same time. Pull or push them toward the center of the screen.
- Push the screen outward. With the pins retracted, push the bottom of the screen outward. It should swing out from the bottom.
- Lift up and out. Once the bottom is free, lift the screen up slightly to clear the lip at the top, then bring it inside.
If the pins are stuck: Plunger pins often get stuck from paint, corrosion, or debris in the track. Try working them back and forth gently with your fingers. A tiny drop of silicone lubricant on the pin mechanism can help. Don't use pliers — they'll crush the pin housing.
Casement Window Screens
Casement windows (the kind that crank open outward) have screens that mount on the interior side of the window. They're held in by turn clips, swivel latches, or spring tabs depending on the manufacturer.
Step-by-step removal
- Close the window first. Unlike sliding and double-hung windows, casement screens come off from inside — and the window needs to be closed so the screen has clearance to come out.
- Identify the clips or latches. Look around the edges of the screen frame where it meets the window frame. You'll see small clips (usually 2-4) that rotate or spring tabs that press in.
- Release all clips. Rotate turn clips 90 degrees so they point away from the screen. For spring tabs, press them inward.
- Pull the screen toward you. With all clips released, the screen should come straight toward you. It may need a gentle tug if it's been in place for a while.
Watch Out
Casement screen clips are often plastic and become brittle after years of sun exposure. Turn them gently. If a clip snaps, don't panic — replacement clips are inexpensive, or our screen repair service can replace them when we're already at your home for a cleaning.
Fixed and Picture Window Screens
Fixed windows (sometimes called picture windows) don't open at all, but many still have screens — especially if the window was originally designed as an operable unit. These screens are usually friction-fit or held by a small number of clips on the exterior.
Step-by-step removal
- Check for exterior clips or tabs. Go outside and look at the edges of the screen frame. There may be small metal tabs bent over the frame, or turn clips similar to casement windows.
- Release any clips. Bend tabs outward or rotate clips to release. If there are no clips, the screen is friction-fit.
- For friction-fit screens: Press firmly on one corner of the screen to push it slightly inward, then use a flathead screwdriver or putty knife at the opposite corner to gently pry the frame outward. Work around the edges — don't pry from the center.
- Pull the screen out of the channel. Once one edge is free, the rest should come out easily. Support the screen so it doesn't fall.
Fixed window screens can be the most stubborn because they've often been in place for years without being removed. Paint, caulk, and weathering can essentially glue them in place. If the screen won't budge with moderate pressure, stop — forcing it risks bending the frame or damaging the window. This is a good time to call a professional.
Screen Doors
Sliding screen doors operate on a roller-and-track system similar to a sliding glass door. They're heavier than window screens and require a slightly different approach.
Step-by-step removal
- Open the fixed glass door panel (if applicable) to give yourself space to work.
- Locate the roller adjustment screws. At the bottom of the screen door, you'll find small screws (usually Phillips head) on both sides. These control the roller height.
- Retract the rollers. Turn the adjustment screws counterclockwise to raise the rollers up into the door frame. This lowers the door slightly and creates clearance between the door and the track.
- Grip the door on both sides and lift it straight up. The top of the door should clear the upper track.
- Swing the bottom outward and pull the door toward you. Angle it to clear the frame.
Reinstallation tip: When putting the screen door back, insert the top into the upper track first, then swing the bottom into the lower track and turn the adjustment screws clockwise to lower the rollers back down. The door should glide smoothly. If it drags or sticks, adjust the roller screws until it moves freely.
Common Mistakes That Damage Screens
After nearly two decades of repairing window screens, these are the mistakes we see most often:
- Pushing from the center of the frame. Screen frames are designed to handle force at the corners, not the middle. Pushing on the center rail bows the frame, and once it's bent, the screen won't sit flush in the track anymore.
- Using a screwdriver to pry screens out. This works sometimes, but more often it dents the frame, gouges the window track, or tears the mesh. Use your hands whenever possible.
- Forcing a stuck screen. If a screen won't move after moderate effort, something is wrong — a stuck pin, paint seal, bent frame, or debris in the track. Forcing it makes whatever problem exists significantly worse.
- Dropping the screen after removal. Screens are surprisingly fragile once they're out of the frame. Leaning them against a wall at an angle, stacking them, or letting them fall to the ground bends corners and loosens mesh tension. Lay them flat or prop them vertically with support on both sides.
- Leaving screens out for extended periods. If you remove screens for cleaning, reinstall them the same day. Screens left out collect dust, get stepped on, and get forgotten in the garage for months — by which point something has usually been damaged.
When the Screen Won't Budge
Sometimes a screen simply will not come out, no matter what you try. Here's what's usually happening and what to do about it:
- Paint seal: If the window was painted with the screen in place, the paint has effectively glued the screen frame to the window frame. You can try scoring the paint line with a utility knife, but be careful not to cut into the screen mesh. If the paint is thick or on multiple sides, a professional should handle it.
- Bent frame: A frame that's been bent — even slightly — may no longer fit through the opening it was designed for. You might be able to see the bend, or you might not. If the screen seems to be catching on something you can't identify, the frame is likely warped.
- Broken hardware: Plunger pins can seize, spring tabs can snap, and roller mechanisms can lock up. If the release mechanism isn't working no matter how you manipulate it, the hardware needs to be replaced.
- Swollen wood frames: On older homes with wood window frames, moisture can cause the wood to swell and pinch the screen frame. This is common after rainy seasons.
In any of these situations, continuing to force the screen risks turning a minor issue into a much more expensive repair. If you're in the Murrieta, Temecula, or Riverside County area, our team can handle the removal and fix whatever is causing the problem at the same time. We do on-site screen repair and replacement — including re-meshing, frame straightening, hardware replacement, and custom-built screens for non-standard sizes.
A Few Final Tips
- Label your screens. If you're removing multiple screens at once (for cleaning or painting), use a piece of painter's tape on each frame with the window location written on it. Screens are not all identical — putting the wrong screen back in the wrong window means it won't fit properly.
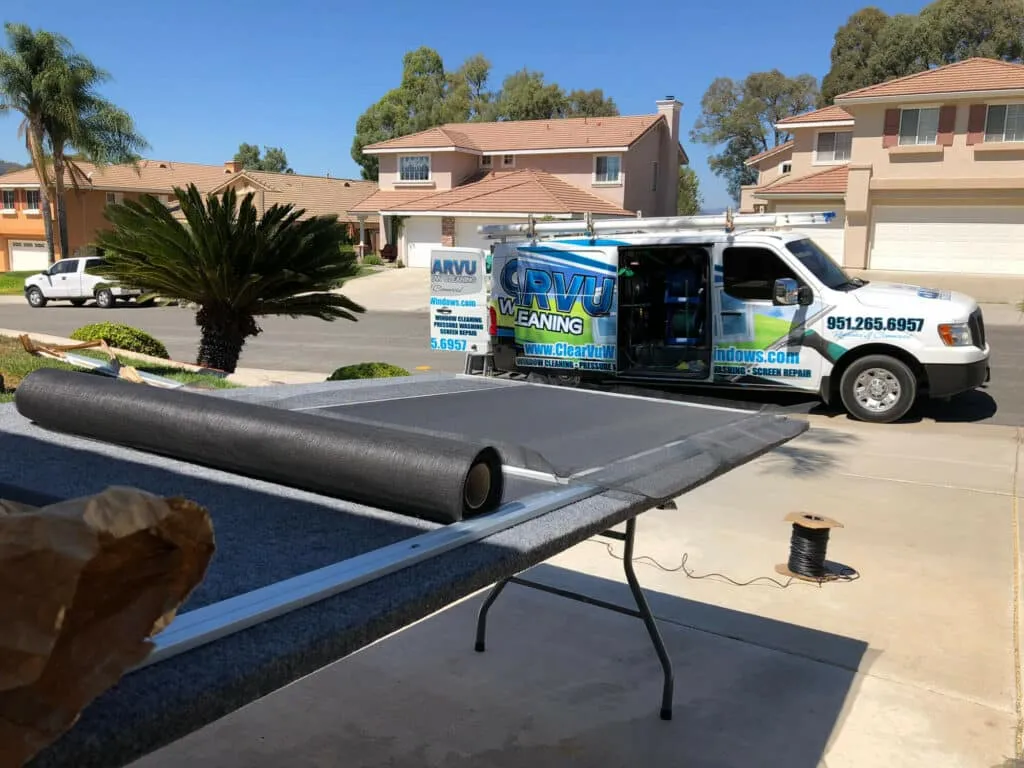
- Clean screens while they're out. Since you've already done the work of removing them, take five minutes to rinse each screen with a garden hose and gently scrub with a soft brush. You'll be amazed how much pollen, dust, and debris collects in the mesh. For a thorough cleaning, our window cleaning service includes screen cleaning with every visit.
- Inspect for damage. With the screen out and in your hands, look for small tears, loose corners, bent frames, or stretched mesh. Small problems are easy to fix now and become expensive problems if ignored.
Leave It to the Pros
Clearvu Window Cleaning has been serving Murrieta, Temecula, and the Inland Empire since 2007.